Learning how to prevent vape coils from burning out begins with understanding what causes coil damage. A burnt taste often appears when cotton dries, e-liquid thickens, or power settings exceed the coil’s recommended range. The problem may seem minor, but repeated dry heating can ruin a fresh coil within hours. Small habits matter.
This 2026 guide, “How to prevent vape coils from burning out,” focuses on practical care based on manufacturer guidance, experienced user observations, and basic coil-heating principles. It explains how to prime a new coil, choose suitable e-liquid, maintain proper liquid levels, and adjust wattage carefully. Readers should always check their device manual and use products from reputable, legally compliant sources.
Start gently.
A new coil needs time to absorb e-liquid through its cotton material. Adding a few drops directly to the exposed cotton may help, but over-saturating it can cause flooding. After installation, several unpowered draws and a short waiting period can improve saturation. Begin at the lower end of the suggested wattage range, then increase gradually if the vapor feels weak.
Still, no method works perfectly every time. Room temperature, e-liquid viscosity, vaping frequency, and airflow can change coil performance. I have seen users blame defective coils when chain vaping was the real cause. Others used suitable settings but ignored a nearly empty tank. Careful observation remains essential. If a burnt taste continues, stop using the coil, inspect the device, and replace damaged components according to the manufacturer’s instructions.
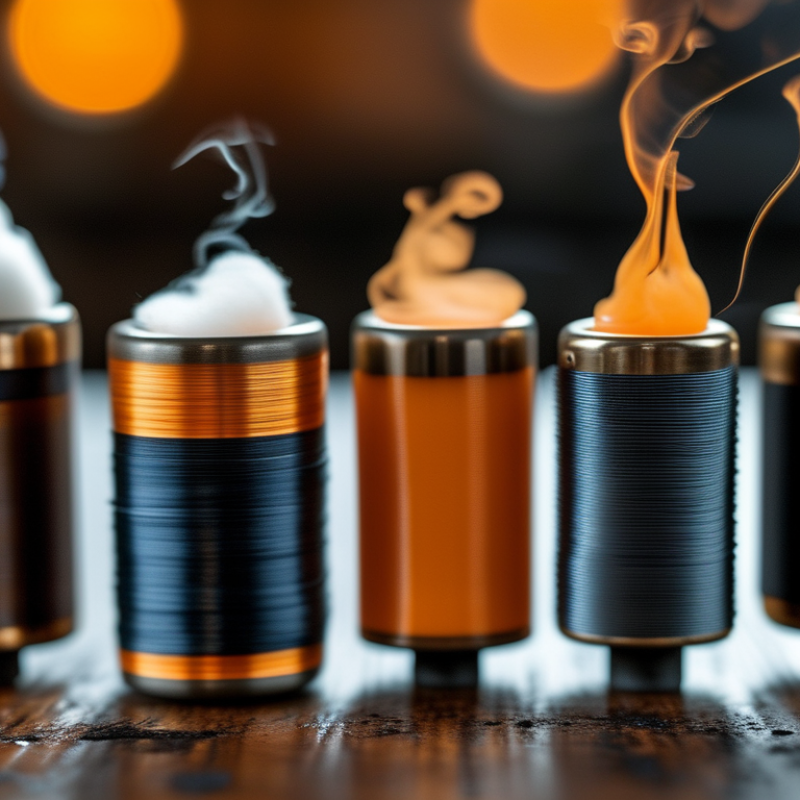
Understanding why vape coils burn out is the key to preventing the problem. A coil usually burns when its wick cannot absorb enough e-liquid before heating. High power can dry the wick quickly. Long, repeated puffs create the same pressure. A small tank opening may also slow liquid flow. You may notice a sharp taste, darker cotton, or less vapor.
Tips: Let a new coil soak for several minutes before use. Start at the lower power setting recommended for the device. Increase it slowly, only when the vapor remains clean. Leave short pauses between puffs. Keep the tank filled above the minimum level. Thick or heavily sweetened e-liquid can leave sticky residue, so the coil may need replacement sooner. Clean the tank when residue becomes visible.
I once blamed poor coil quality for every burnt taste. That was too simple. In practice, airflow, room temperature, liquid thickness, and puff length all matter. A nearly empty tank can burn a coil within a few harsh draws. If the burnt flavor remains after refilling, replace the coil rather than forcing it to recover. Do not use a damaged device or leak-stained coil. Follow the equipment’s instructions, because suggested settings differ between devices. Some advice online sounds certain, but real use is less predictable. Record what changes the taste. That small habit can reveal your own pattern.
| Common Cause | Insufficient E-Liquid Saturation | Dry or burnt taste, reduced vapor production, and a harsh throat sensation. | Keep the tank or pod adequately filled and allow the wick to remain saturated before vaping. | Do not continue using the device when the liquid level is below the manufacturer’s minimum fill line. | |
|---|---|---|---|---|---|
| Inadequate Priming of a New Coil | A burnt taste may appear immediately or after only a few puffs. | Add e-liquid to the exposed wick openings, fill the tank, and wait several minutes before use. | Start at the lower end of the coil’s recommended power range and increase gradually if needed. | ||
| Power Set Too High | Hot vapor, burnt flavor, rapid liquid consumption, and darkened or damaged cotton. | Stay within the coil’s printed wattage range and avoid exceeding the recommended maximum. | Higher wattage heats the coil more intensely and can evaporate liquid faster than the wick can replace it. | ||
| Repeated Chain Vaping | Flavor becomes dry or harsh after several consecutive puffs. | Leave short intervals between puffs so the wick can absorb more e-liquid. | The required recovery time depends on the coil design, e-liquid thickness, power level, and airflow. | ||
| E-Liquid That Is Too Thick | Slow wicking, dry hits, muted flavor, or liquid remaining in the tank while the wick appears dry. | Use an e-liquid viscosity suitable for the device and coil; higher-VG liquids generally need suitable wicking ports. | Small pod-style coils may struggle with very thick liquids, especially at higher power. | ||
| Sweeteners and Heavy Flavor Residue | Dark residue on the coil, muted flavor, popping, and a shortened usable coil life. | Choose cleaner e-liquids when practical and replace the coil when residue affects taste or vapor. | Sweetened liquids can caramelize on the heating surface; rinsing is not a reliable way to restore a worn coil. | ||
| Restricted or Blocked Airflow | Hotter vapor, tight airflow, noisy draws, and increased risk of overheating. | Keep airflow openings clear and use an airflow setting appropriate for the coil and power level. | Do not cover airflow holes while vaping; reduced airflow limits cooling around the coil. | ||
| Low Battery or Unstable Power | Inconsistent vapor, weak flavor, or irregular heating. | Use a device with appropriate power regulation and recharge it according to its instructions. | For removable-battery devices, use compatible, undamaged batteries and follow safe charging practices. | ||
| Contamination or Poor Maintenance | Unpleasant taste, leaking, gurgling, or reduced airflow. | Clean the tank or pod exterior, keep the connection dry, and replace damaged seals or coils. | Never use a coil that is visibly damaged, severely discolored, or producing a persistent burnt taste. | ||
| Normal Coil Wear | Gradually weaker flavor, reduced vapor, darker e-liquid, or recurring burnt taste despite correct use. | Replace the coil or pod when performance declines rather than trying to operate it at higher power. | Coil life varies with power, vaping frequency, liquid composition, airflow, and maintenance; there is no universal replacement interval. |
Safety note: Stop using a coil or device if it becomes unusually hot, leaks onto the battery area, shows physical damage, or produces a persistent burnt taste. Always follow the device and e-liquid manufacturer’s instructions and applicable local regulations.
: Thin, high-PG liquids usually suit small pods and tight wicking systems. Thick, high-VG liquids need wider coil openings and more power. Check the device’s recommended range.
The wick may stay partly dry, even when the tank looks full. You may notice a dry taste or sharp throat hit. Stop using the coil.
Lower-resistance coils usually need higher wattage and faster liquid flow. Higher-resistance coils generally work better at gentler settings. Begin at the low end.
Add a few drops of liquid onto the visible cotton openings. Avoid the center tube. Fill the tank, keep it upright, and wait five to ten minutes.
Start with short, gentle puffs at low power. Pause between puffs. Increase wattage slowly only when vapor feels thin or cool.
Repeated puffs can empty the wick faster than liquid can return. Short pauses help the cotton resaturate. A full tank does not guarantee a wet coil.
Watch for darkened liquid, a toasted flavor, dryness, or a harsh throat hit. Stop using the device. Replace the coil instead of forcing more power.
Keep the tank above its minimum fill line. Use suitable liquid thickness and moderate settings. Record wattage and liquid type for one week. Patterns may appear.
They may, but results differ between devices and coil designs. I once blamed a faulty coil, but thick liquid in a small pod caused the problem. Mistakes happen.
Learning how to prevent vape coils from burning out starts with understanding the common causes of coil damage, including insufficient e-liquid, excessive heat, chain vaping, and residue buildup. Choosing an e-liquid with a suitable consistency and selecting a coil that matches your device can improve flavor and extend coil life. Before using a new coil, saturate it properly with e-liquid and allow it to rest so the wicking material is fully soaked.
Using the recommended wattage range and a comfortable vaping temperature helps prevent overheating. Avoid taking repeated puffs without allowing the coil to re-saturate, and keep the tank filled above the minimum level. Regularly inspect and clean the device, while replacing the coil when you notice a persistent burnt taste, reduced vapor, discoloration, or poor performance. These simple habits can support a cleaner, more consistent, and longer-lasting vaping experience.

 TAV Vape